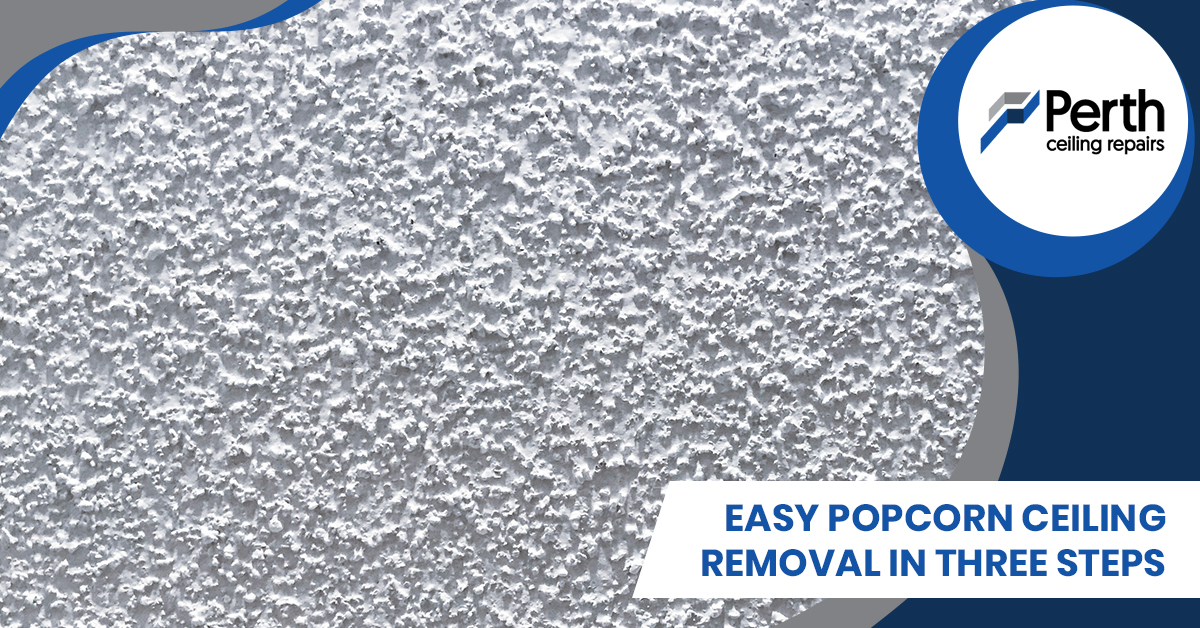
A popcorn ceiling is paint or spray-on ceiling treatment that features a rough, lumpy texture. Individuals mainly used the popcorn ceiling during the late 20th century. Builders during the time installed a textured treatment that helped to cover all the imperfections while aiding in absorbing sound from above the building. Today, many homeowners embrace popcorn ceiling removal since the heavily textured surface leaves the room looking outdated and old. Removing the texture enhances the appearance of the entire house while increasing the house value of your property.
Reasons for removing popcorn ceiling
Create better lighting
One of the main problems caused by the popcorn ceiling is affecting the lighting in the room. The bumpy surface leads to light bouncing off it, resulting in harsh shadows in the room. You can reduce the shadow effect by installing the correct type of lighting if you do not have enough funds to remove the popcorn ceiling. You can also stick to floor or table lamps, making the room more relaxing by creating a softer glow.
Prevent it from catching dust
Having a popcorn ceiling or vermiculite ceiling makes it a challenge to clean the house since a popcorn ceiling is like a magnet that attracts dirt and dust in your home. You have to regularly dust and polish your furniture due to the accumulated dust in the ceiling, making it not only annoying but also time-consuming.

Easiest ways on how to remove popcorn ceilings
Some of the questions you need to ask the professional before removing your popcorn ceiling include:
- How much does it cost to remove popcorn ceiling?
- How much is asbestos popcorn ceiling removal cost?
- How long it would take to remove the popcorn ceiling?
If you get the answers, then you can conveniently begin the process of popcorn ceiling removal. Below are some of the easiest steps on how to prepare and remove the popcorn ceiling.
1.Gather your tools
If your ceiling is asbestos-free, it’s time to get to work and begin the process of removing the popcorn ceiling. The asbestos popcorn ceiling removal cost will depend on the extent and amount of work involved in removing the popcorn ceiling. The essentials for removing the popcorn ceiling include painter’s tape, dust mask, safety goggles, plastic sheeting or drop cloths, a garden sprayer and a drywall taping knife
2. Protect floors, walls and yourself
The next step is to cover the walls, floors with plastic sheeting and remove furniture from the room. You need also to take down the hanging light fixtures and ceiling fans since it makes the job much easier. You will also need to wear safety glasses and a dust mask when removing the popcorn ceiling
3. Spray the ceiling with water
Use a garden sprayer to wet down and spray the ceiling with water to make it much easier to remove the popcorn ceiling. After waiting for the water to absorb for about 15 minutes, use a drywall taping knife to slowly run it along with the wet ceiling and avoid damaging the ceiling beneath.
4. Sand, prime, and paint the ceiling
The final step is sanding, priming and painting the ceiling. After removing the popcorn ceiling, you may find hidden imperfections like visible joints and screws which, can be covered by a joint compound and sanding. After sanding and giving the ceiling a fresh coat of paint, remove the lights or fans, remove the plastic sheeting and enjoy your smooth ceiling.
Who removes popcorn ceilings?
The removal of the popcorn ceiling should be left to the professionals since removing asbestos can be potentially dangerous and physically demanding. Popcorn ceiling removal may seem easy; however, Perth Ceiling Repairs can do the job fast and efficiently. Get the best “ceiling fixers near me” from a team of experts who have the experience, technical skills, and tools to get the job done effectively. Perth Ceiling Repairs can do wall and ceiling repairs for you today. Contact us on 0414 213 006 to get high-quality popcorn ceiling removal, Gyprock ceiling replacement or damaged ceiling repairs services now.

